Install ProtexLocalVA VMWare virtual machine
Introduction
ProtexLocalVA is a virtual appliance running the Protex web-filtering software and is available in a range of formats (VMWare, VirtualBox, OpenVZ, etc). It is a filtering only solution and requires access to a local proxy/cache server. The details of the local proxy are required on the subscription request form and must also be entered during the original setup (see below).
NOTE: ProtexLocalVA is a virtual Centos 64-bit server and so the host server must also be 64-bit.
This appliance has been tested on Windows, Linux and Macintosh (intel) hosts.
The filtering performance of ProtexLocalVA is dependent upon the host hardware and the resources given to the virtual machine. In particular the VM should be given as much RAM as possible.
The advantage of ProtexLocalVA is that as demand grows you can move it onto more powerful hardware without reinstalling the whole system: just prepare your new host server, shutdown ProtexLocalVA, copy the files to the new server and restart!
Browser Setting Requirements (for AD/NTLM Authentication)
- must allow JavaScript
- must allow cookies
- "do not proxy for" setting must include the Protex server's FQDN and IP address.
- In almost all cases we suggest that the whole local network is included in the "do not proxy for" setting.
Initial setup and installation
Download and install the appropriate hosting software (VMWare, VirtualBox, etc).
Having installed the appropriate hosting software download the ProtexLocalVA appliance, untar/unzip and install onto the host. Please refer to your particular host software's instructions on how to install an appliance. Now start ProtexLocalVA and log in as the admin user.
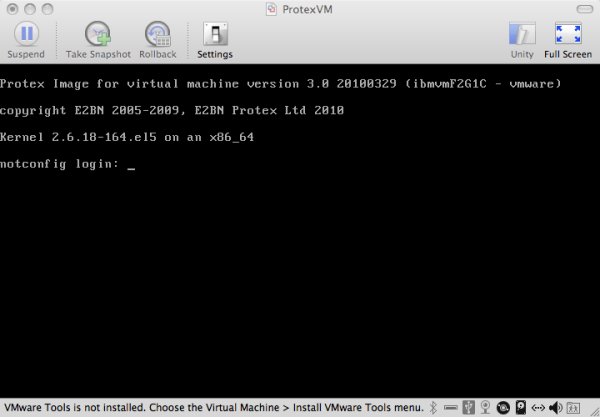
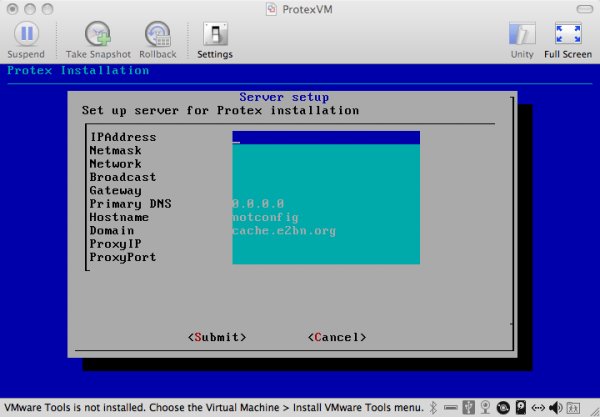
Logging in as admin will bring up the following dialog where you supply the required network details. Use the up/down arrow keys to move between fields and tab to go to the buttons. All the requested details are required for a successful install. ProtexLocalVA is a filtering server only and does not have its own cache so the ProxyIP and ProxyPort fields must be completed. For best performance the cache should not be on the same hardware as the ProtexLocalVA appliance.
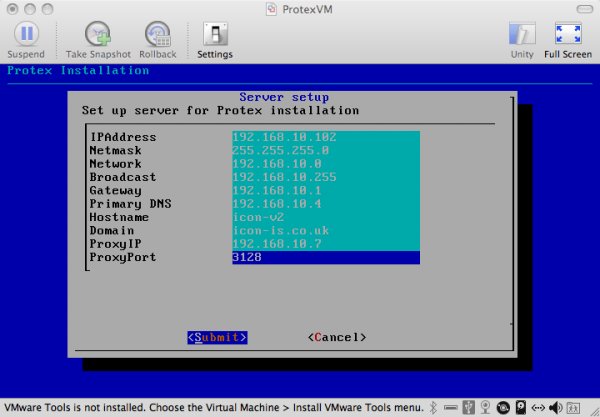
This is an example of the completed form.
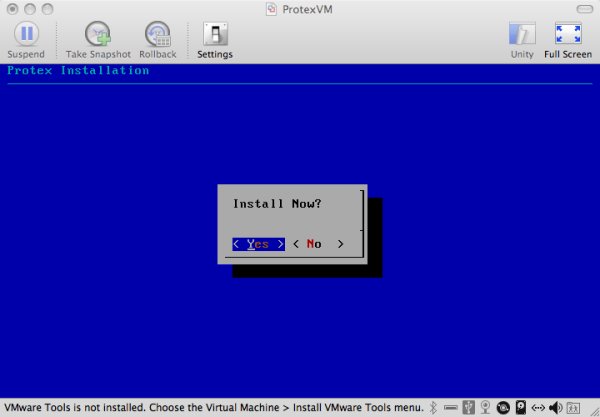
When all the details have been completed select Submit and return which then takes you to the following dialog. If you want to install now then select Yes. If you choose not to install now then you can complete the installation at any time by logging in as admin again. All the network details you previously entered will be retained except for the the proxy details which will need to be re-entered before selecting Yes.
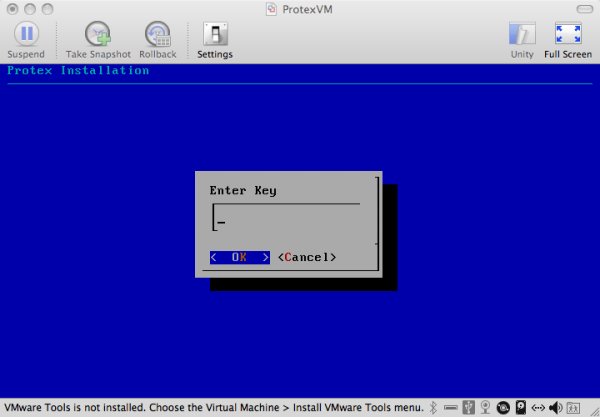
Enter the subscription key then OK
During installation this dialog will inform you of progress and any errors.
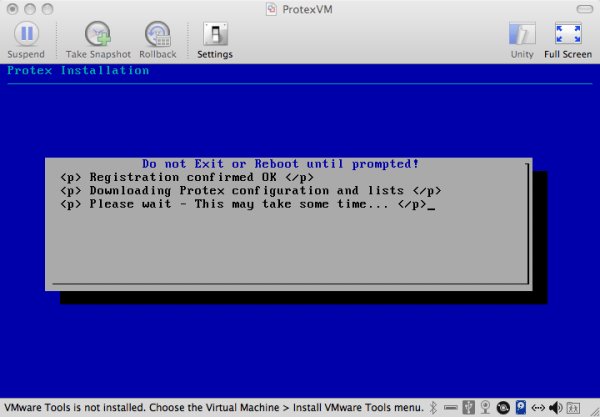
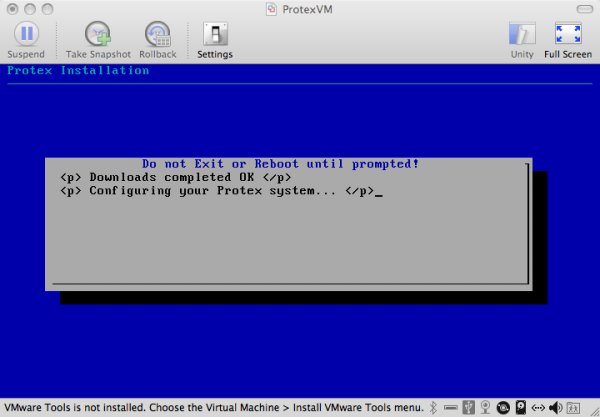
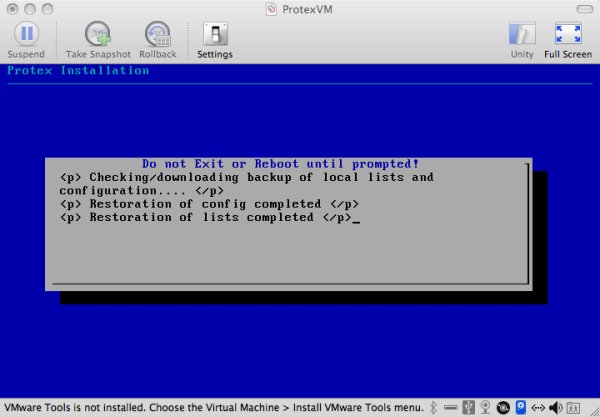
Assuming all goes well you will reach this screen where you are asked to Reboot the server: the installation will not be configured correctly until this has been done so it is best to perform the reboot now but you can just Logout or Shutdown the server if you wish.
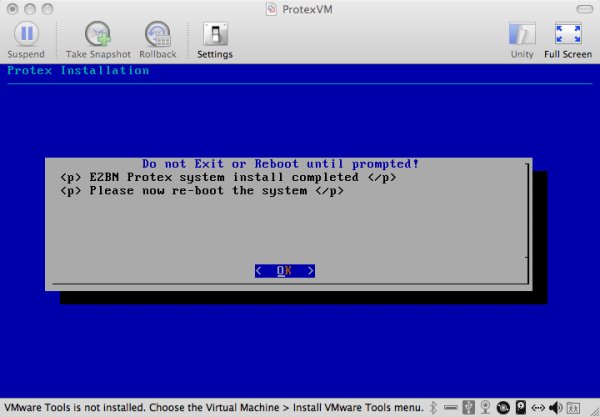
Use the down arrow to select Reboot then tab to OK and press return.
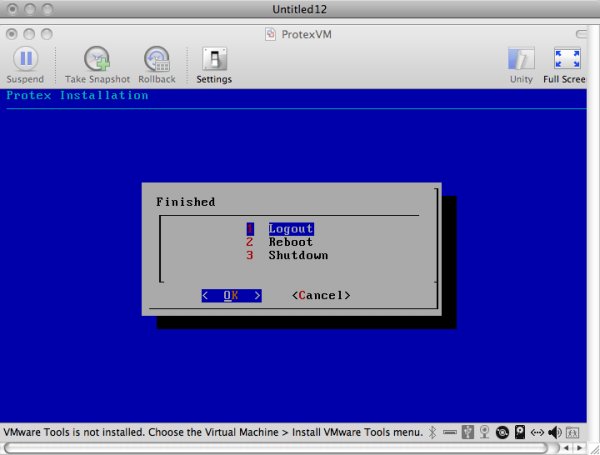
Once the server has been rebooted Protex will be correctly configured and started.
At this point all web requests directed to this server on ports 8080 or 8084 will be filtered by Protex. Port 8080 will be the default profile for students (the level will correspond to the school type selected on the original subscription request form) and 8084 will be the staff profile.
All managment of the Protex system can now be done via the web interface which is accessed by browsing to the IP address of the server. This is password protected and the default password (send to you prior to installion) should be changed via the menu system.