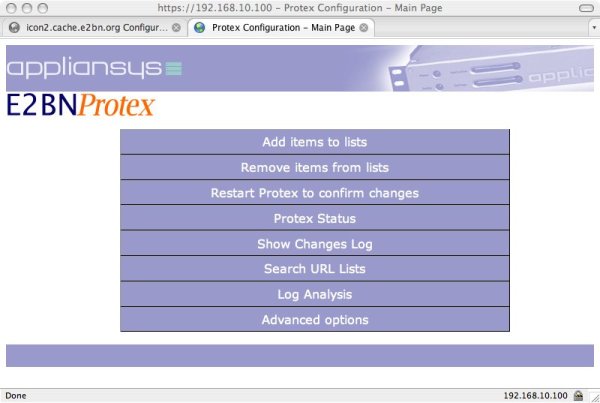
Install ProtexLocal
Web filtering software for the Appliansys CB050 and CB200 CacheBoxes
First buy your CacheBox!
The ProtexLocal server version of the Protex web filtering solution is only available as an addition to the Appliansys CacheBox range of servers.
The CacheBox itself may be provided by your Local Authority or purchased direct from Appliansys (email E2BN for details).
Once you have your CacheBox and it is working as a cache - i.e. you can direct a browser to its IP address on port 800 and browse the internet - you can order and install Protex. It is very important that you confirm that the cache is working correctly before attempting to install Protex as the installation will fail if the CacheBox is not able to access the internet. (Instructions for installing the CacheBox in your network and, in particular, how to set the IP address should be included with the hardware).
The Protex web filtering solutions ProtexLocal and ProtexLite both include NTLM authentication and have stringent system requirements: if you have an older CacheBox then please check the following carefully before attempting the installation.
System Requirements
Protex can only be installed on a Appliansys CacheBox (CB050 or CB200) running their operating system v3.12/3.16 or above. Servers running versions prior to v3.12 are not supported.
On previously installed Appliansys servers currently running a pre v3.12 o/s we strongly recommend a clean install of the most recent operating system version and reconfiguring the server before installing the Protex software. While installation over an upgrade may work if there are problems we cannot offer technical support until a clean o/s install and a reinstall of Protex has been completed.
Browser Setting Requirements (for NTLM Authentication)
- must allow JavaScript
- must allow cookies
- "do not proxy for" setting must include the Protex V2 server's FQDN and IP address.
- In almost all cases it is also preferable include the whole local network in the "do not proxy for" setting.
Setting up the CacheBox as a cache
Unless pre-configured by your LA or Appliansys you will need to do the initial setup from the terminal (i.e. with a screen and keyboard plugged in). The minimal setting at this point is to give the CacheBox its correct IP details (IP address, netmask and DNS). Once these have been set all other configuration and management of both its cache and filter functions can take place via the web-interface. Please follow the manufacturer's instructions and any local policies (e.g. do you need to access the internet via a LA cache as parent?) to set up the CacheBox as a cache. Once it is working then you can go on to install the Protex Filtering system.
Installing ProtexLocal
Make sure you have completed the order process and have both the subscription key and hostname to hand.
First Log-in to the CacheBox via its IP address.
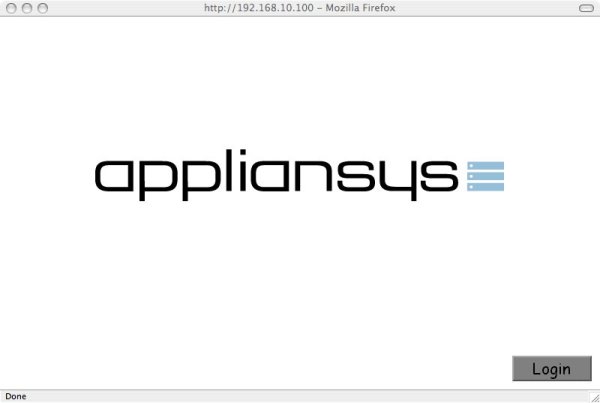
You will be asked to accept the CacheBox certificates - accept and follow the prompts at these screens.
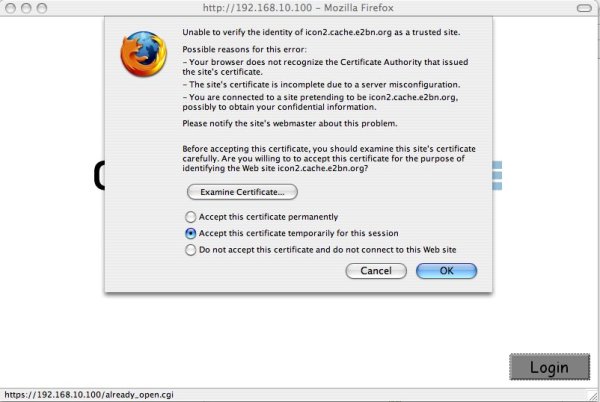
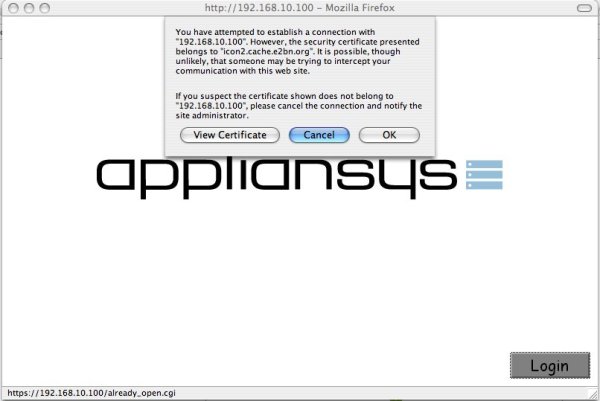
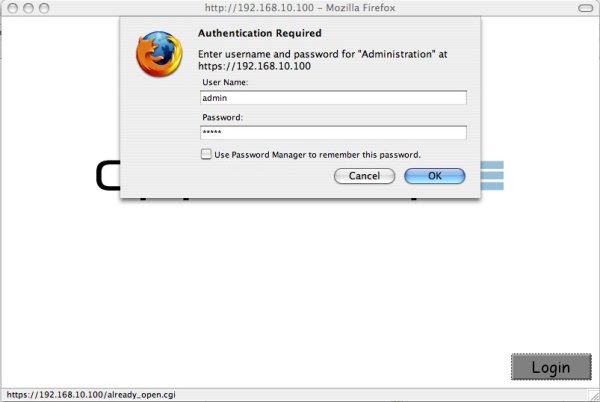
Then enter the administrator username and password. If this is still the default change it to a more secure password as soon as possible.
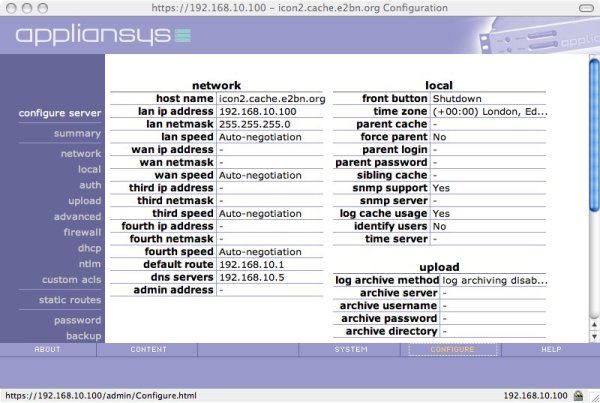
This should take you into the Configure/Network tab of the CacheBox interface where you can see the current settings of your cache. In this case you can see that the hostname has been set to icon2.cache.e2bn.org and the IP address is 192.168.10.100. These are critical pieces of information: when you come to install the Protex software these are checked against the information you originally supplied. If they do not match the software will not install. The hostname in particular MUST be changed from the default name to the assigned one.
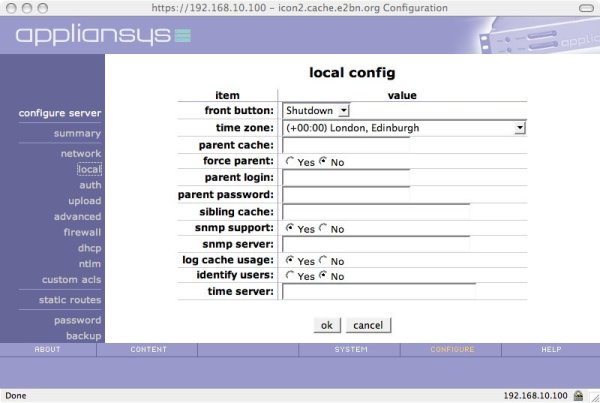
For some authorities you may need to set a parent cache before you will be able to access the internet. Click on the local menu item on the left to reach this screen where it can be both set and forced. The name/IP of the parent please will need to be obtained from your LA.
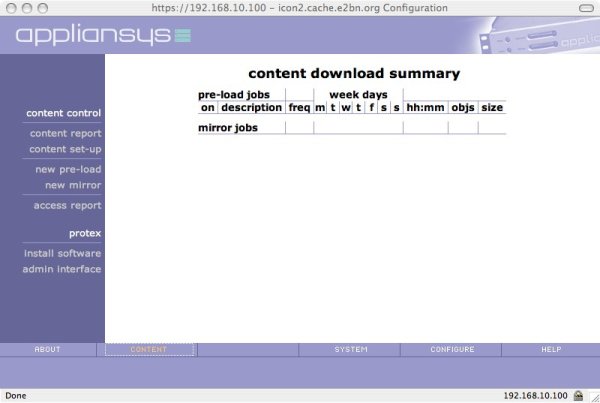
Now you have the cache working and configured with the correct hostname, IP address and parent cache you can install the Protex software. Go to the Content tab: this is where you can control the cache element of the server and access the Protex admin interface once it has been installed.
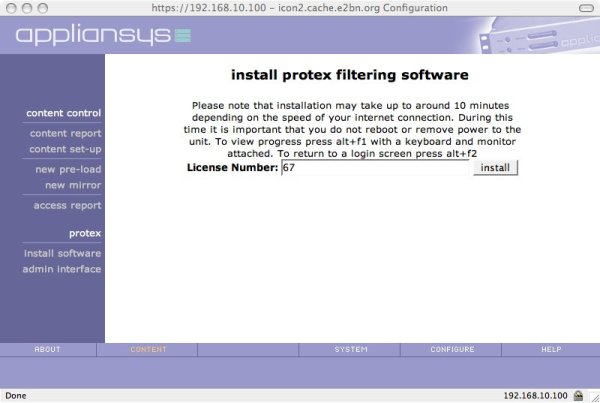
To install the Protex software click on the install software menu item.
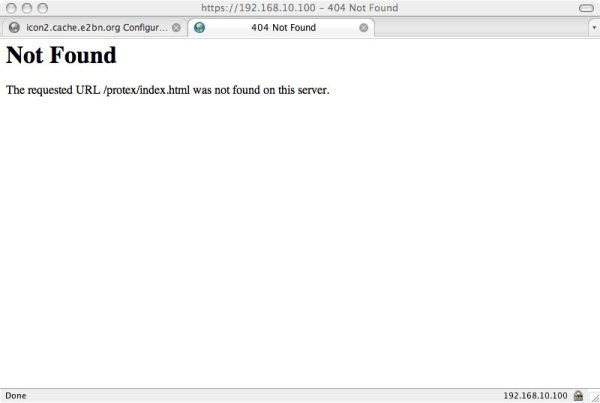
If you click on Admin interface before installing the software (or if the installation fails) then this is what you see...
Click Install software and enter your subscription key.
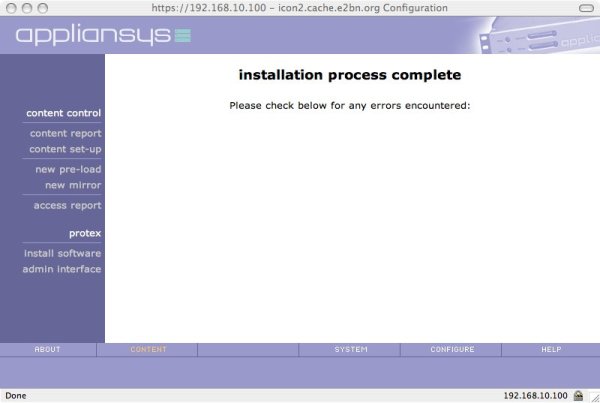
It takes a few minutes to install the software depending upon the speed of your internet connection and how busy it is: the main blacklists are some 40Mb so please be patient! Once completed you see this page displayed assuming there have been no problems.
Now go back to the System tab and click on shutdown...
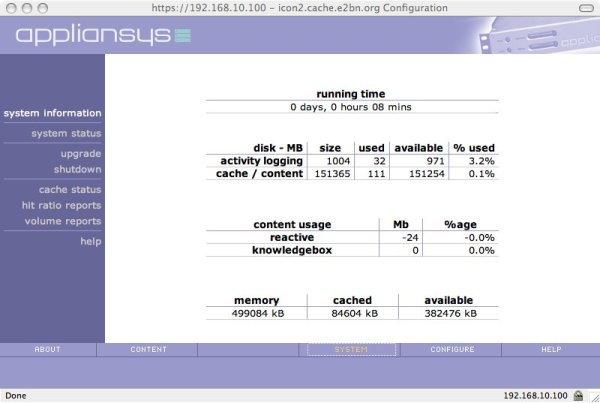
Select the reboot option...
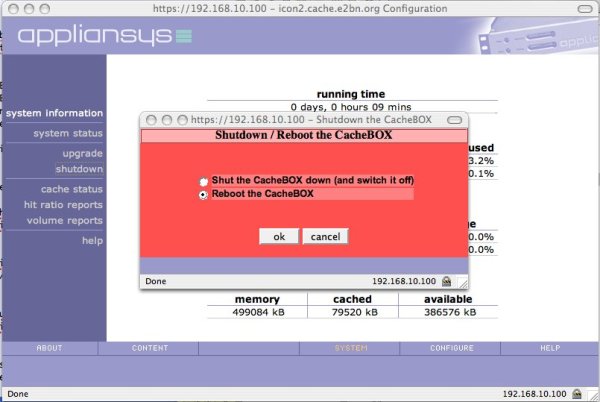
and Confirm....
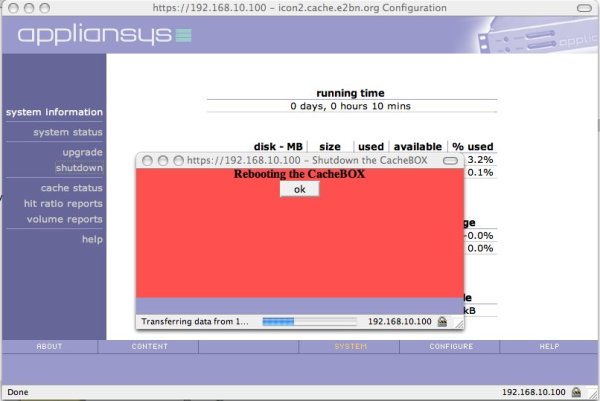
You will need to log back into the cache once it has rebooted then go to the Content tab and click on the Admin interface item to bring up the web interface to the Protex content filtering software.
